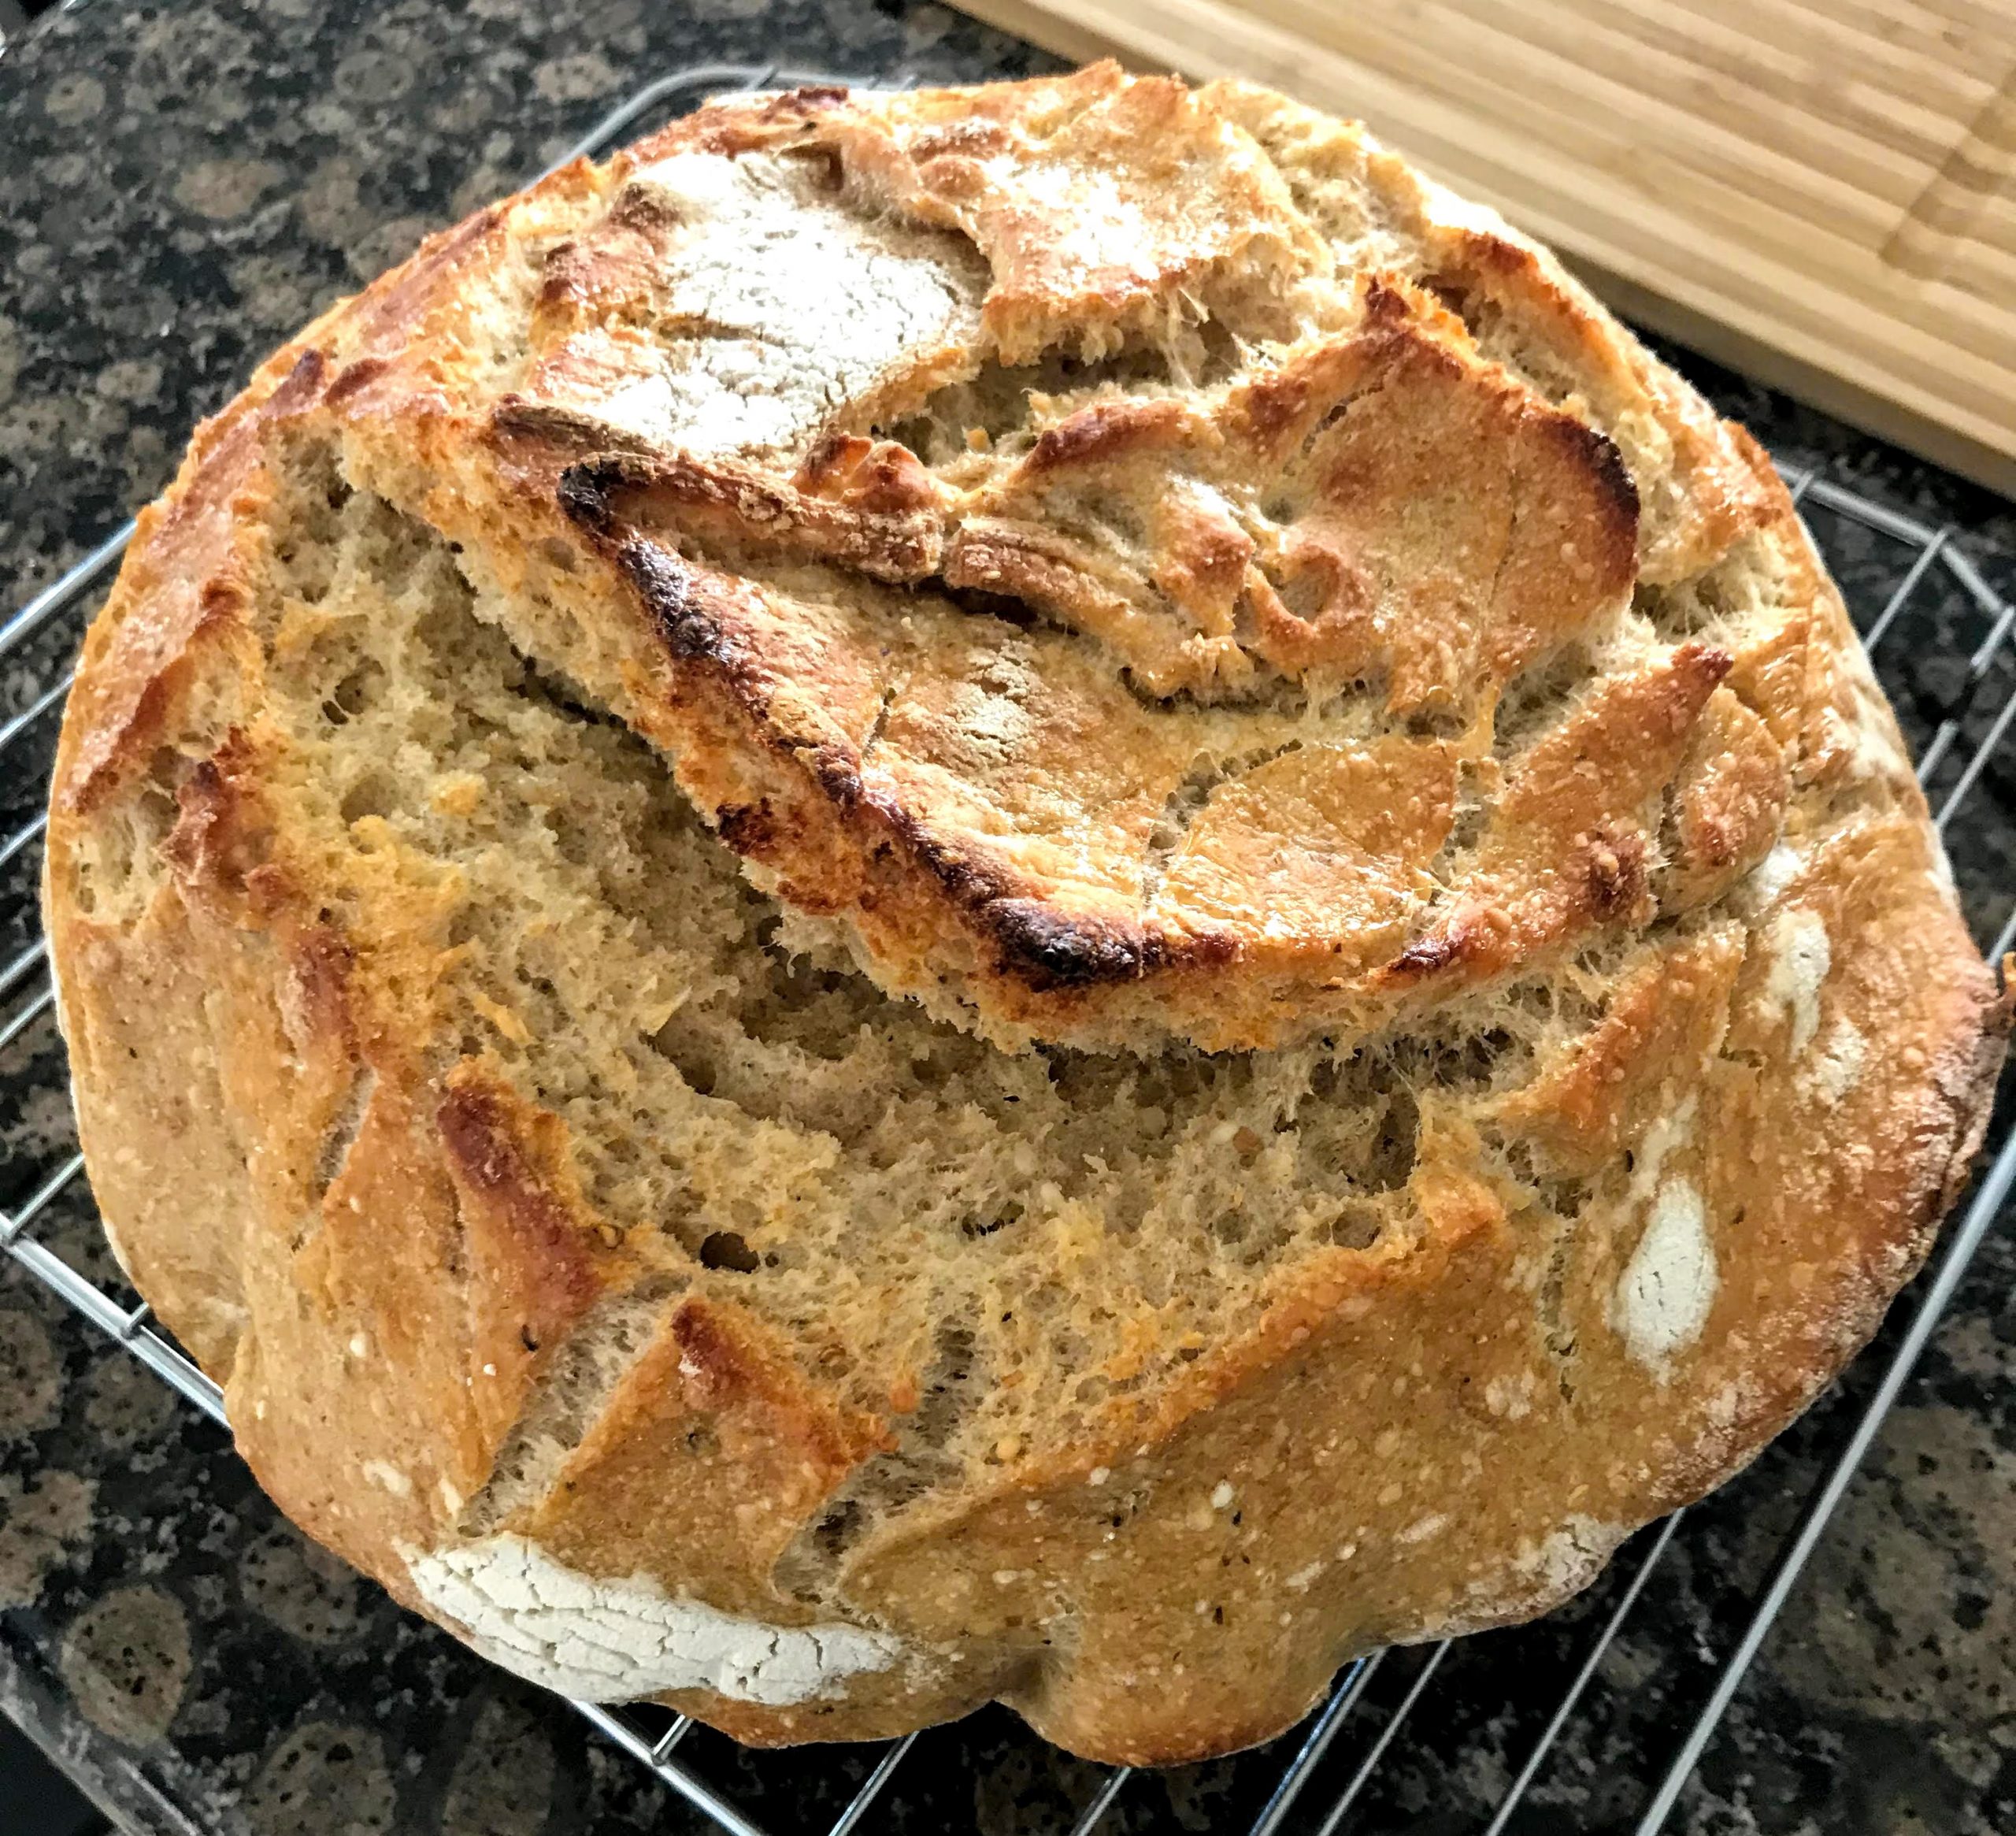
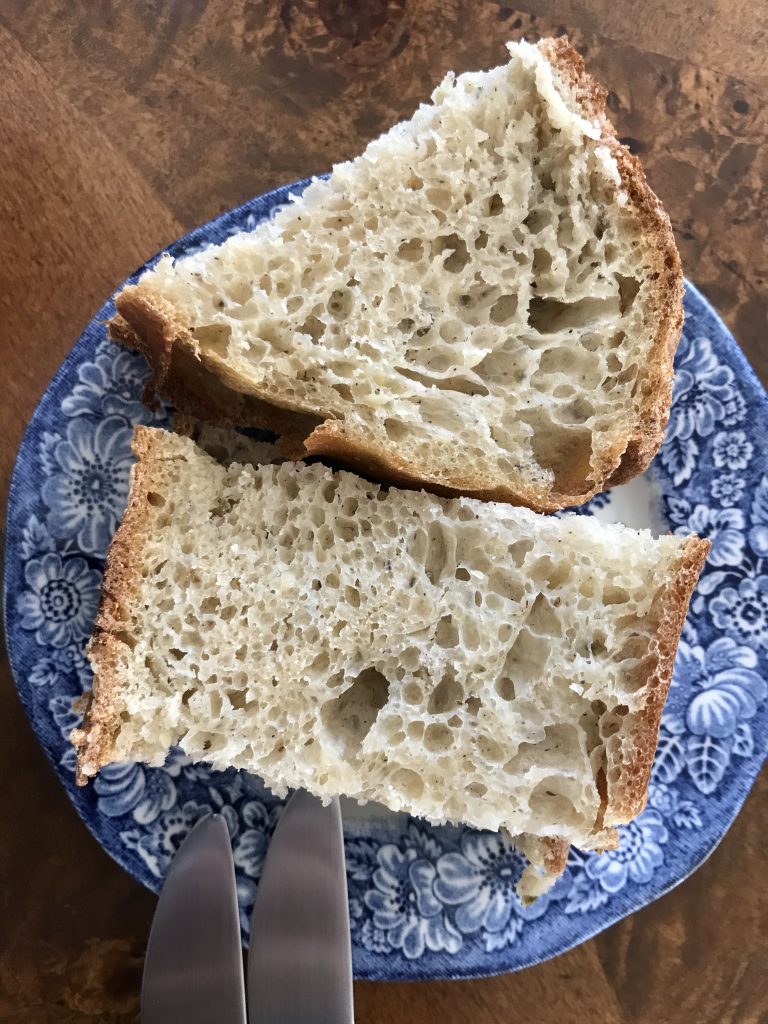
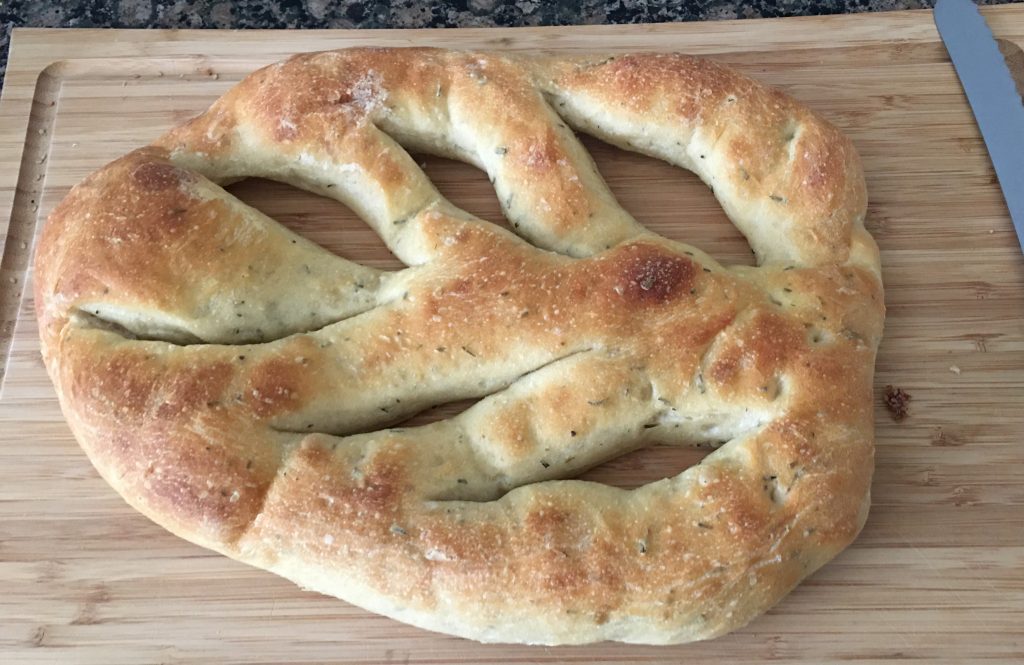
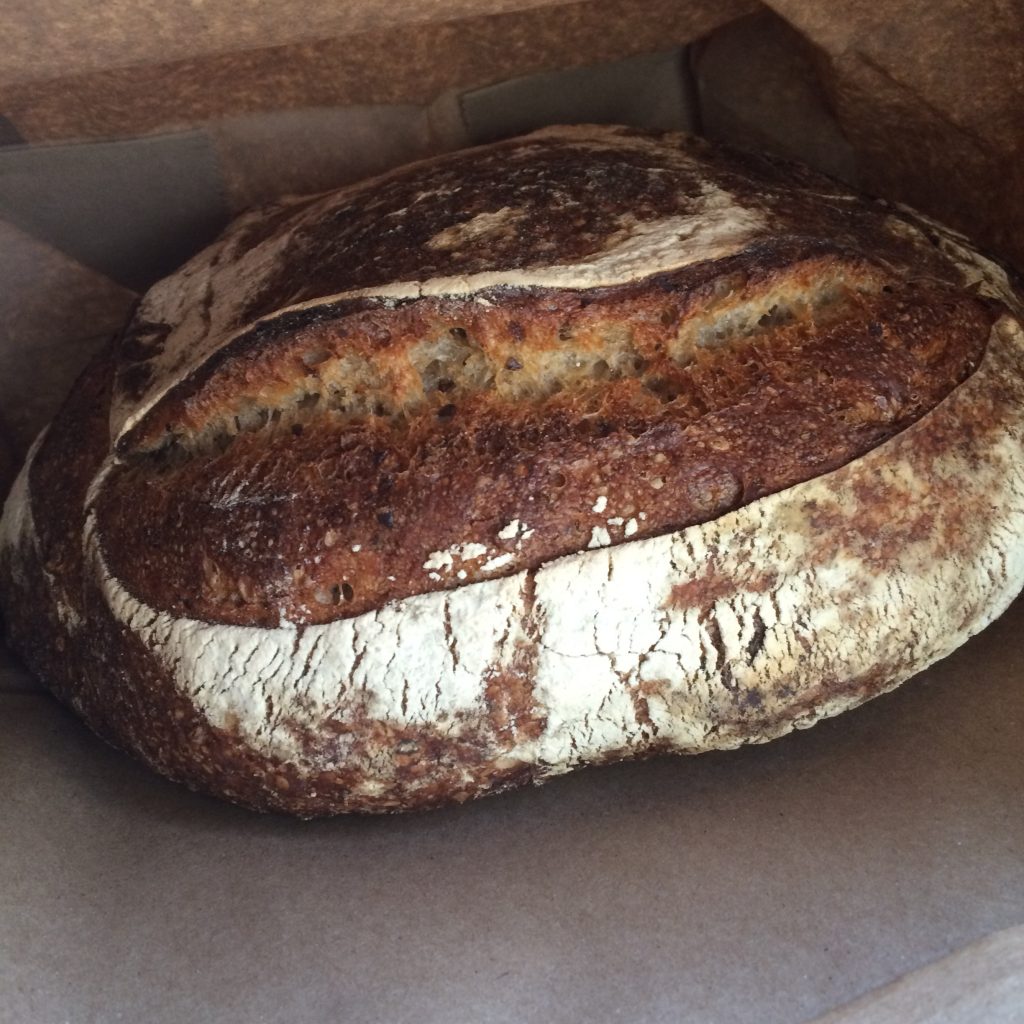
I probably baked this sourdough bread recipe over 20 times in the last 8 months. I have failed miserably many times. The sourdough bread recipe is not at fault since most of my failures were not being patient. The failure to wait can take place in a number of places, such as refreshing sourdough, bulk fermentation, shaping, final proofing, unable to wait for an hour before cutting the bread…
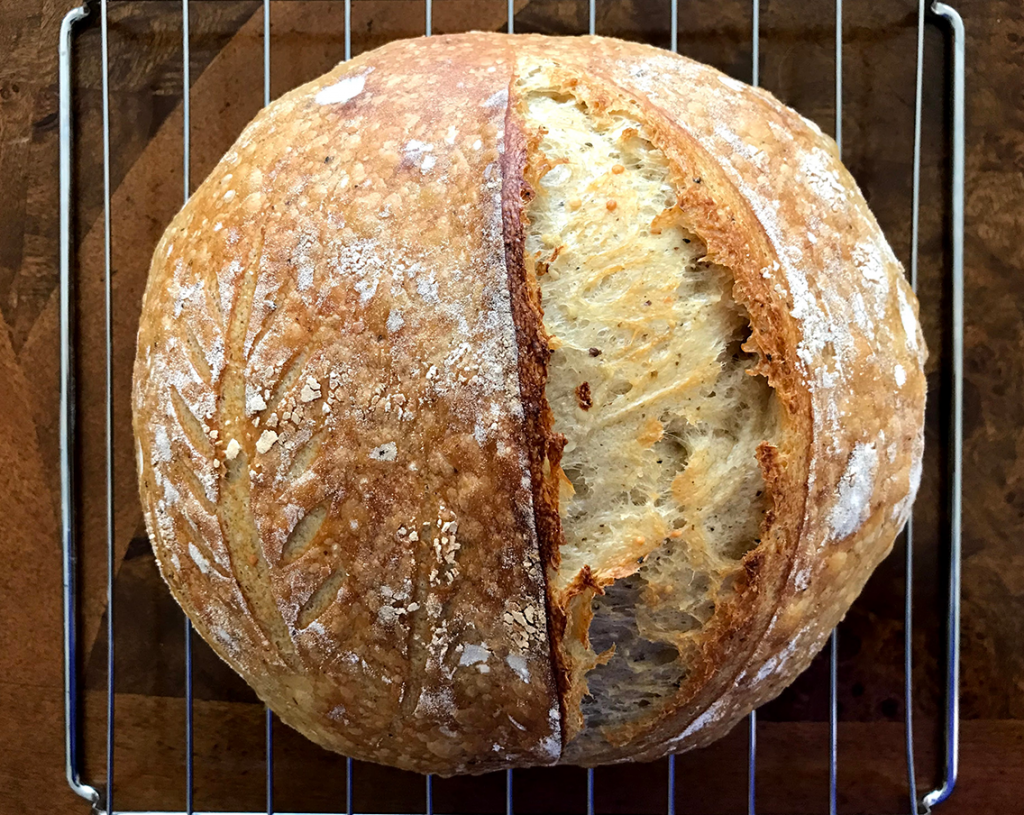
I read blogs, cookbooks, watched youtube tutorials on sourdough bread recipe, and baking. And finally, with a combination of instructions, tricks, advice, and warnings, I finally baked several successful loaves. But only to realize how little I know about baking with sourdough. Apart from patience, a little fluctuation in room temperature, change in baking flour, or baking tools resulted in drastic differences in the outcome.
So this sourdough bread recipe is still work in process. I will adjust and modify it as I bake more with sourdough bread. This is a way to record new realizations to help improve my sourdough bread recipe and my next bake better.
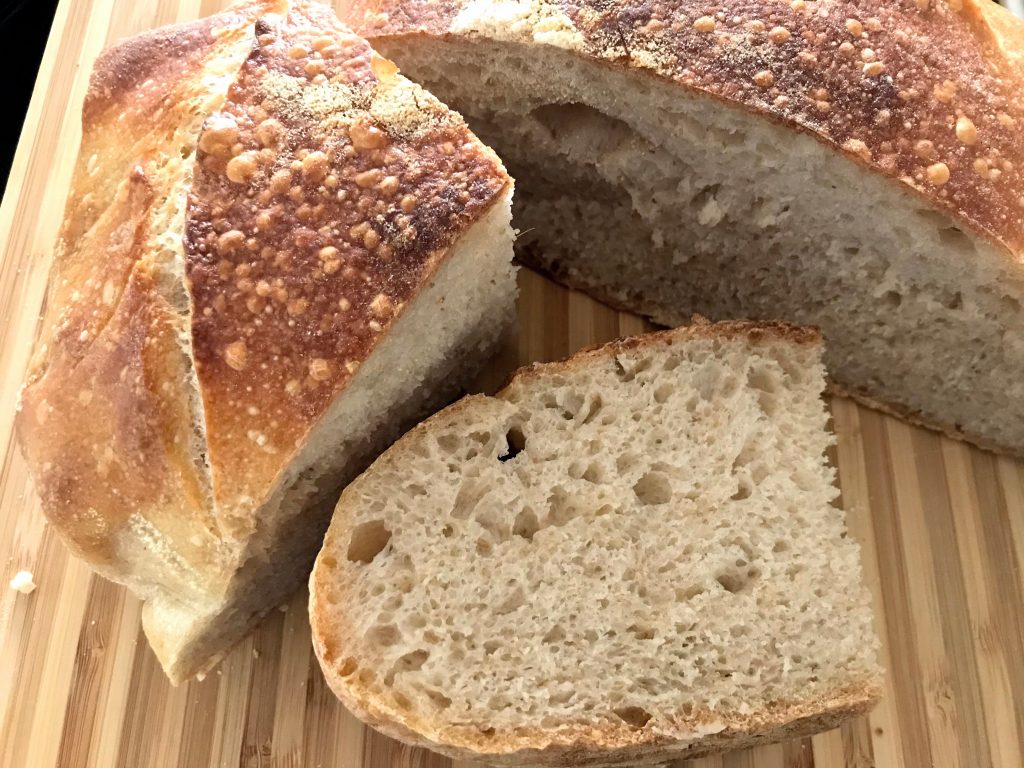
Starting from refreshing the sourdough starter until the bread is ready to be served, takes me at least 2 days to complete this sourdough bread recipe. And it is totally worth the wait!
Ingredients:
220 grams active starter (100% hydration, 50-50% whole wheat & white flour) -->For more information goes to Making sourdough starter.
900 grams bread flour or all-purpose flour*
100 grams whole wheat flour**
750 ml water (700 ml for dough, 50 ml for salt)
15 grams sea salt
*When using all-purpose flour, reduce the amount of water initially to 650 ml. (625 ml for dough, 25 ml for salt) If the dough is stiff, add water to the 25 ml water to dissolve the salt during the dough preparation. Remember the dough has to be very wet and sticky.
In most cases, all-purpose flour is a 1:1 substitute for bread flour. However, depending on the brand of the all-purpose flour it may absorb less water than bread flour making the final dough too hydrated.
**When increasing the portion of whole wheat flour to the recipe, make sure to add in an extra 15 ml of water for every extra 100 grams of whole wheat flour. Whole wheat flour needs more hydration than bread flour.
Steps for Sourdough Bread:
Step 1: 100% Hydration Starter Preparation
(2-3 hours to 12 hours):
- Start feeding an active starter 2-3 hours before working on the dough. I have found that a young starter (anything fermented less than 3 hours from feeding) produces results just as good as a mature starter that has been fermented for 4-5 hours. I have used starters just over 1 hour after feeding and was able to get good results also. When working with a very mature starter, start the feeding the night before the baking.
Step 2: Autolyse and Dough Preparation
(1.5 hours):
- Once the starter is active and ready to be used, prepare a large bowl to combine the 1000 grams flour to 700 ml of lukewarm water at 80-84F. Gently mix by hand or with a hook on a stand mixer until the mixture is well combined. Then let it rest for 40 minutes to 1 hour for autolyse*.
- Add in the 220 grams of starter to the flour mixture and combine by hand or a hook on a stand mixer until all the starter is incorporated. The dough will be very wet, sticky, and shaggy. Cover the dough and let it rest at room temperature for about 30 -40 minutes.
- Dissolve the 15 grams sea salt** with the remaining 50 ml of water and slowly mix it into the dough. With the additional water, the dough will feel like it will fall apart but continue to combine until it all comes together again. The dough will be very wet, sticky, and shaggy.
*Autolyse: This step is important for the development of gluten to help the dough to rise by trapping the air bubbles from the sourdough fermentation.
**Addition of Salt: The salt is added at the end of the dough preparation to avoid salt from interfering with the starter and the gluten, protein formation in the dough.
Step 3: Bulk Fermentation & "stretching and folding" sets
(3-4 hours):
- After the addition of the salt, cover the dough again and let it rest for 30 minutes at around 80F. During the colder days, I place my dough near the window when it is warm or place it in my oven with my oven light on.
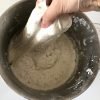
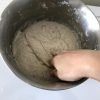
- After 30 minutes, prepare for the "stretching and folding" sets to help gluten formation and fermentation. Dip fingers into a cup of water and reach to the side of the dough then pinch and stretch the dough upwards and fold it onto the top of the dough. Then, rotate the bowl slightly and repeat this stretching and folding 4-5 times till the whole dough has been stretched and folded. Then let the dough rest for another 30 minutes and repeat the stretching and folding. Do this every 30 minutes for the next 3-4 hours - approximately 6-8 times, till the dough becomes very stretchy and fluffy, and it should increase by 20-30% from the fermentation. It is also a good idea to do the windowpane test* after the last folding to make sure that strong gluten has formed. (*windowpane test is stretching the dough into a thin translucent membrane without any tearing, if the gluten formation is weak the dough will tear before a thin membrane can be formed.)
- After the last stretching and folding, let the dough rest for 30 minutes before the next step.
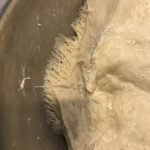
Stretching and folding the dough to strengthen gluten formation (25% whole wheat dough)
Step 4: Shaping - (30 minutes):
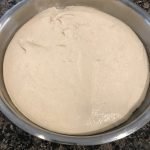
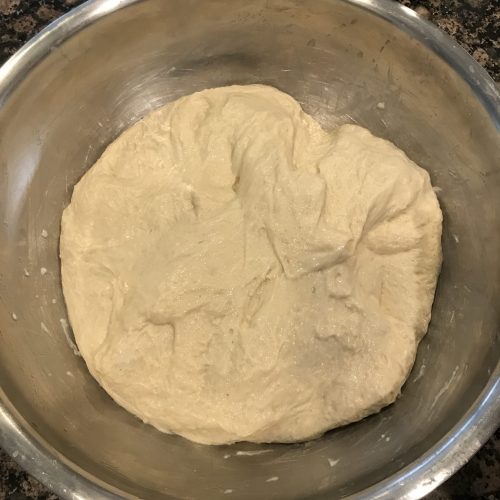
- The ready dough should be soft, fluffy with air bubbles, and no longer shaggy but holding together from the gluten formed.
Dough after bulk fermentation (100% white-bread flour)
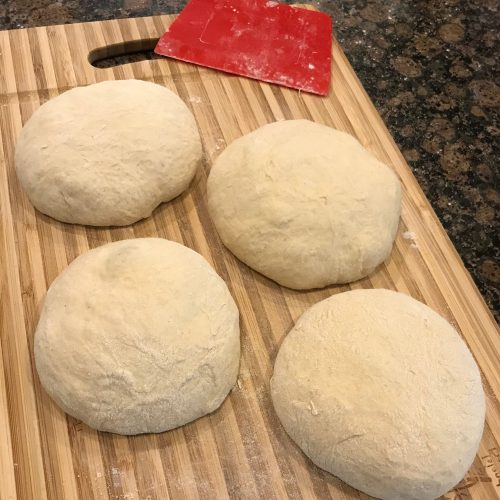
- Pour the dough onto a working surface (do not flour the surface), then dust the top of the dough with flour and divide the dough into two equal pieces with a scraper. Next, with the scraper stretch and tuck in the floured sides underneath the dough to form a ball, circle around the dough until the smooth floured surface forms the outside of the dough. This stretched floured surface will be the crust of the bread. Repeat this to both half doughs and then cover with a towel and rest for 15 minutes.
- While waiting prepare the proofing baskets or mixing bowls lined with tea-towels dusted generously with whole wheat flour or rice flour. And plastic bags to cover the loaves while proofing.
- To finally shape the dough, take the scraper and flip the dough upside down with the smooth side facing the working surface. Think of the dough as a square and pinch the two corners and stretch it away from the center and then fold it back toward the middle of the dough, do the same for the left and right side of the dough. For the top side, also pinch the two top corners and stretch it outwards and then pull it back towards the center but this time pull it all the way to the bottom corner to cover all the other folds. This will create a very tight surface around the dough. Next, flip the dough back with the smooth side facing upwards, so that the folded side is on the bottom. Take the scraper and tuck the sides underneath the dough to shape it into a ball. Do the same to the other half-dough.
Step 5: Final Proofing
(3-4 hours at room temperature or 8-12 hours in the refrigerator):
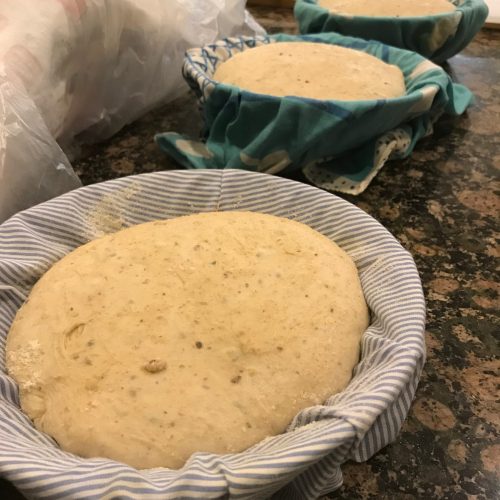
- Transfer the balls into the proofing baskets by flipping the folded sides facing upwards. It is also a good time to tighten the folds but pinch them together towards the center, creating a tighter pull on the smooth side. Place each loaf into a plastic bag and let it rise for 3-4 hours or 8-12 hours overnight in the refrigerator. (Proofing overnight produces less sour, sweeter bread.)
Step 6: Baking
(1 hour to heat the oven, & 50 minutes baking each loaf of bread):
- Take the shaped doughs out of the fridge 30 minutes to 1 hour before baking and let it finish raising. However, if the doughs have already increased by 40-50% in the refrigerator only take it out right before baking.
- Heat the oven to 500F together with the Dutch oven or any cast-iron pot with a lid. (Dutch oven/cast-iron pot traps the moisture that evaporates from the dough and in the high temperature turns it to steam which covers the surface of the dough and keeps the entire loft moist while baking.)
- While the oven is heating up, prepare a piece of parchment paper for the dough to be flipped on. Once the oven is ready, take one of the doughs and flip it with the smooth side facing upwards, Next, score the bread with a lame or a sharp knife.
- Then carefully take out the Dutch oven. Remove the lid and pick up the dough by holding onto the sides on the parchment paper and placing the dough+parchment paper into the Dutch oven. Quickly close the lid and transfer the Dutch oven back into the oven. Then turn the oven temperature down to 450F and bake for 20 minutes.
- Then carefully remove the Dutch oven lid (watch out for hot steam escaping) and bake for another 20 minutes. If the oven the large enough, leave the lid in the oven so that the temperature does not fluctuate as much. After 20 minutes, if the crust is not golden brown, leave it to bake for another 5-10 minutes. To make sure the bread is ready, tap the bottom of the bread for a hollow sound.
- Transfer the bread to a wire rack to cool for at least 1 hour before cutting.
- Heat the oven back to 500F along with the Dutch oven and repeat the same baking process for the second dough.
- Done! Ready to cut and eat!

Why sourdough?
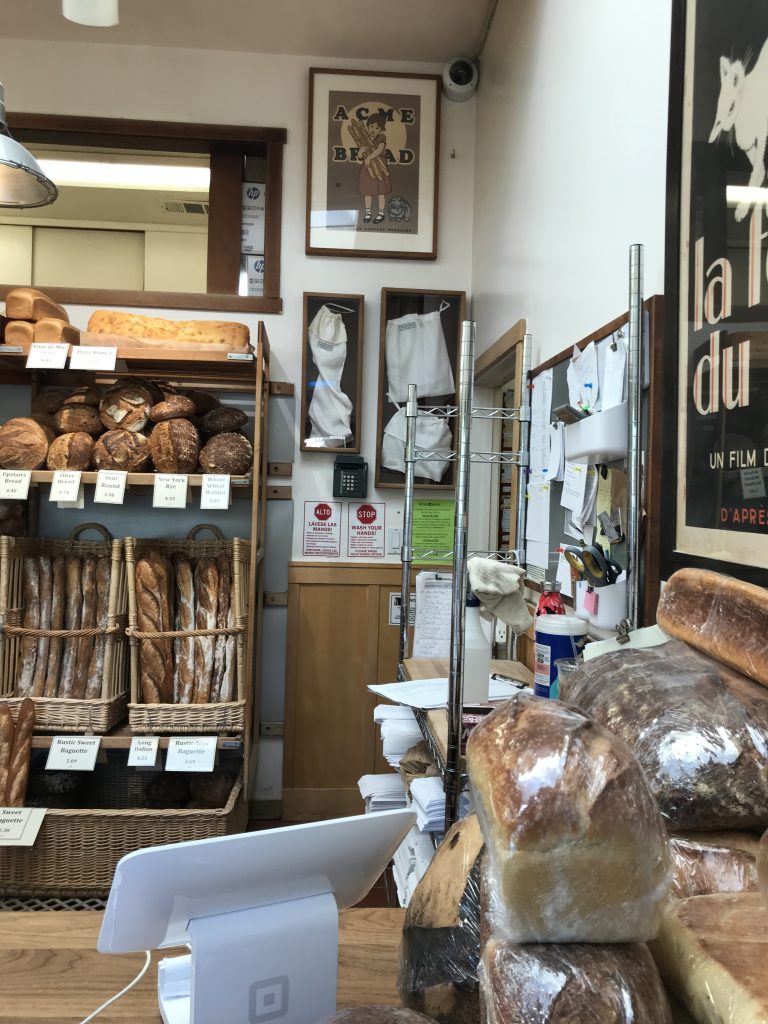
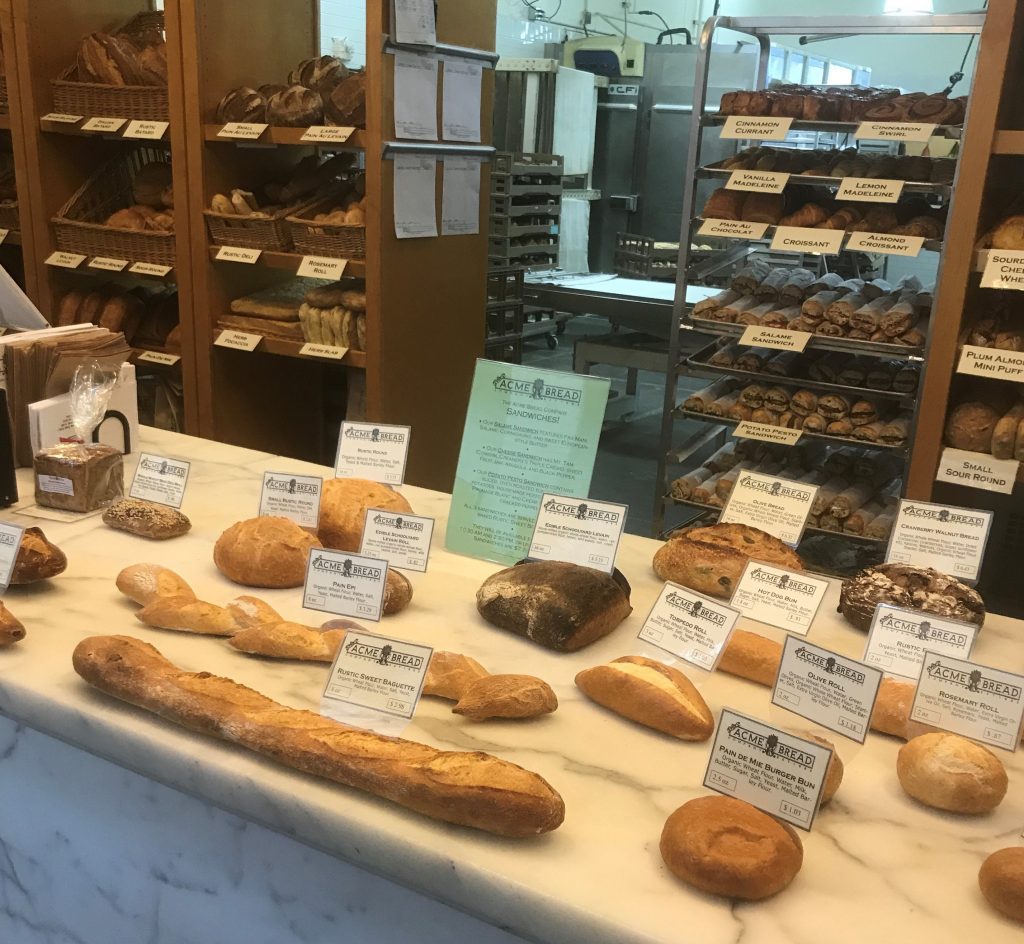
Because the ingredients needed to sourdough are simple, it only needs water, flour, and salt. It avoids all the additives and preservatives that are in commercial bread. And above all, it tastes splendid! After having sourdough bread from Tartine in San Fransisco and Acme Bread in Berkeley, I had the urge to learn to bake sourdough bread at home so I tried numerous sourdough bread recipes. But little did I know that the amount of persistence and tacit knowledge one needed for successful sourdough baking.

